Our blog is moving...
but check out the exciting features in the adidas Running app that will help you start running!
OPEN ADIDAS RUNNING

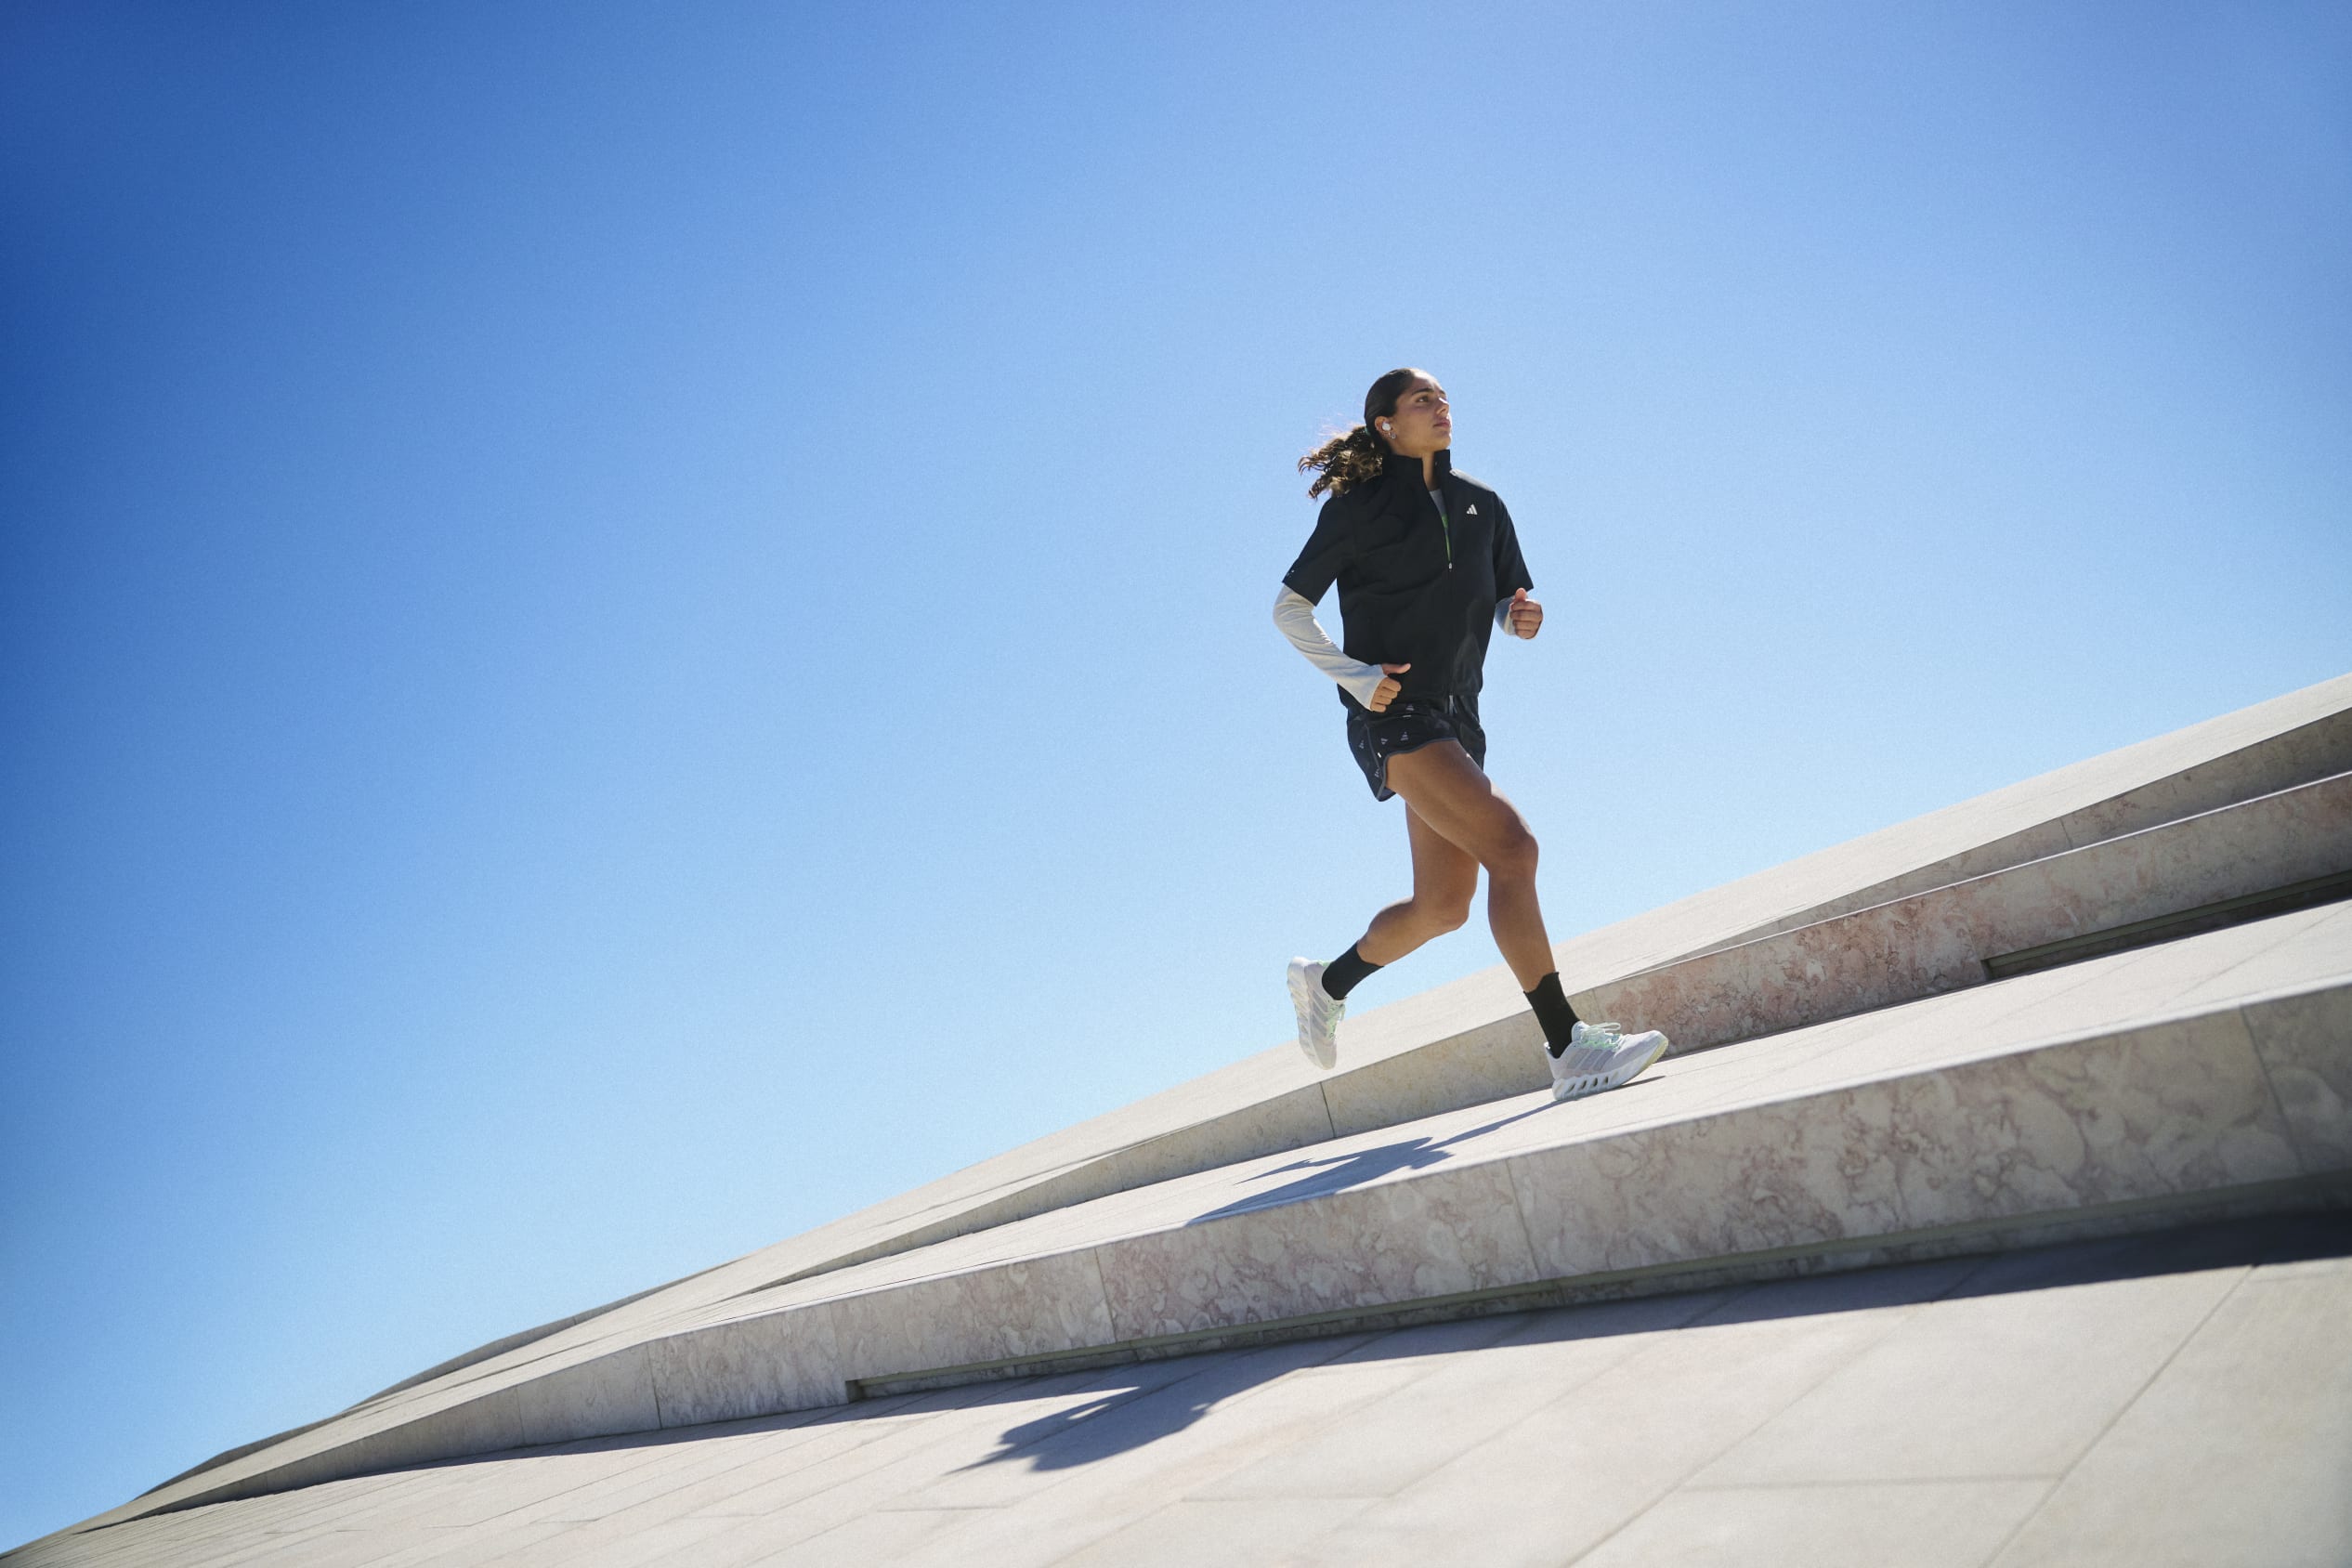
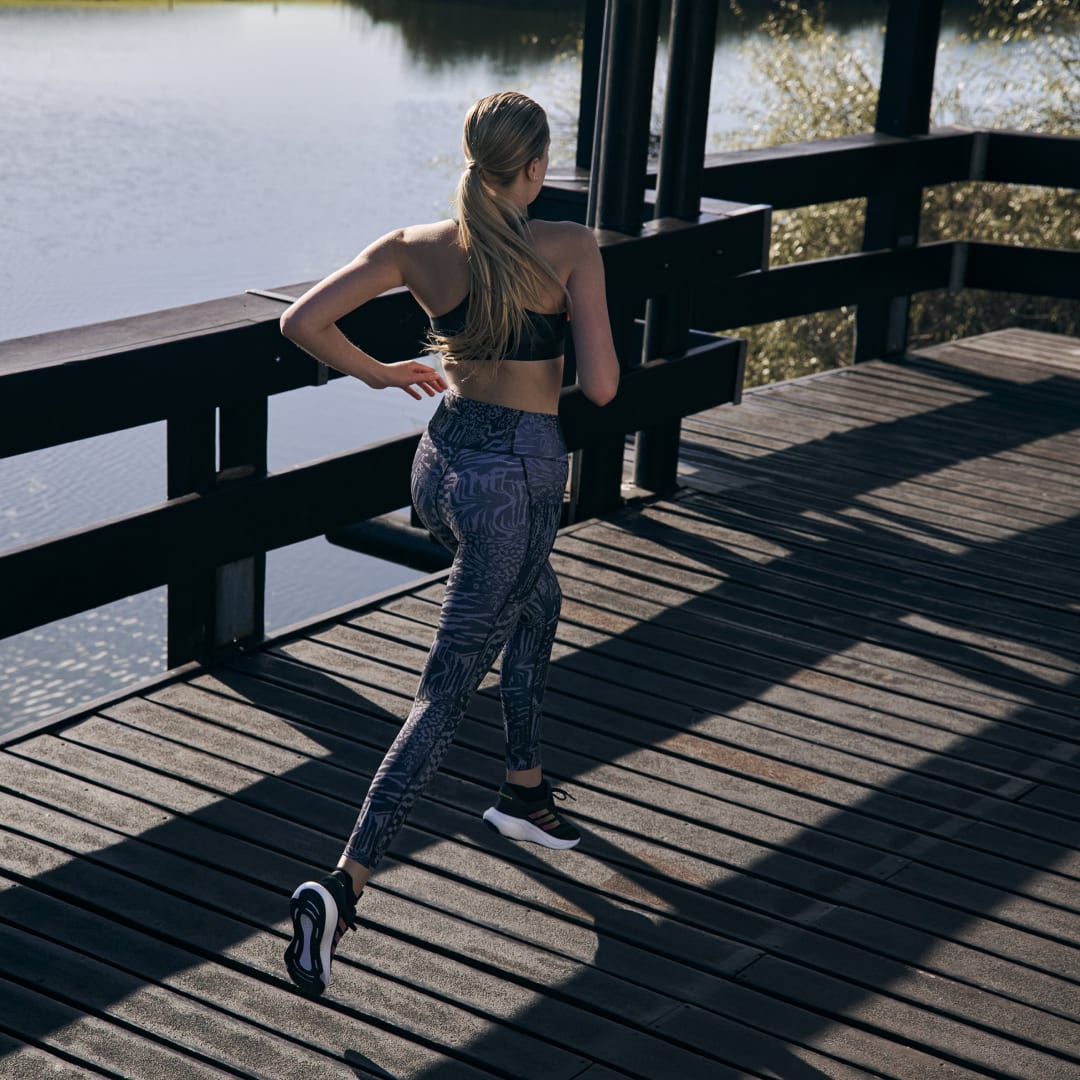
TRACK ACTIVITIES. BOOST PERFORMANCE. CELEBRATE SUCCESS.
Record your workouts and review your statistics. Join challenges to get motivated – push your limits. Share your success with a global community and reach your goals with every step.


CHOOSE YOUR PLAN


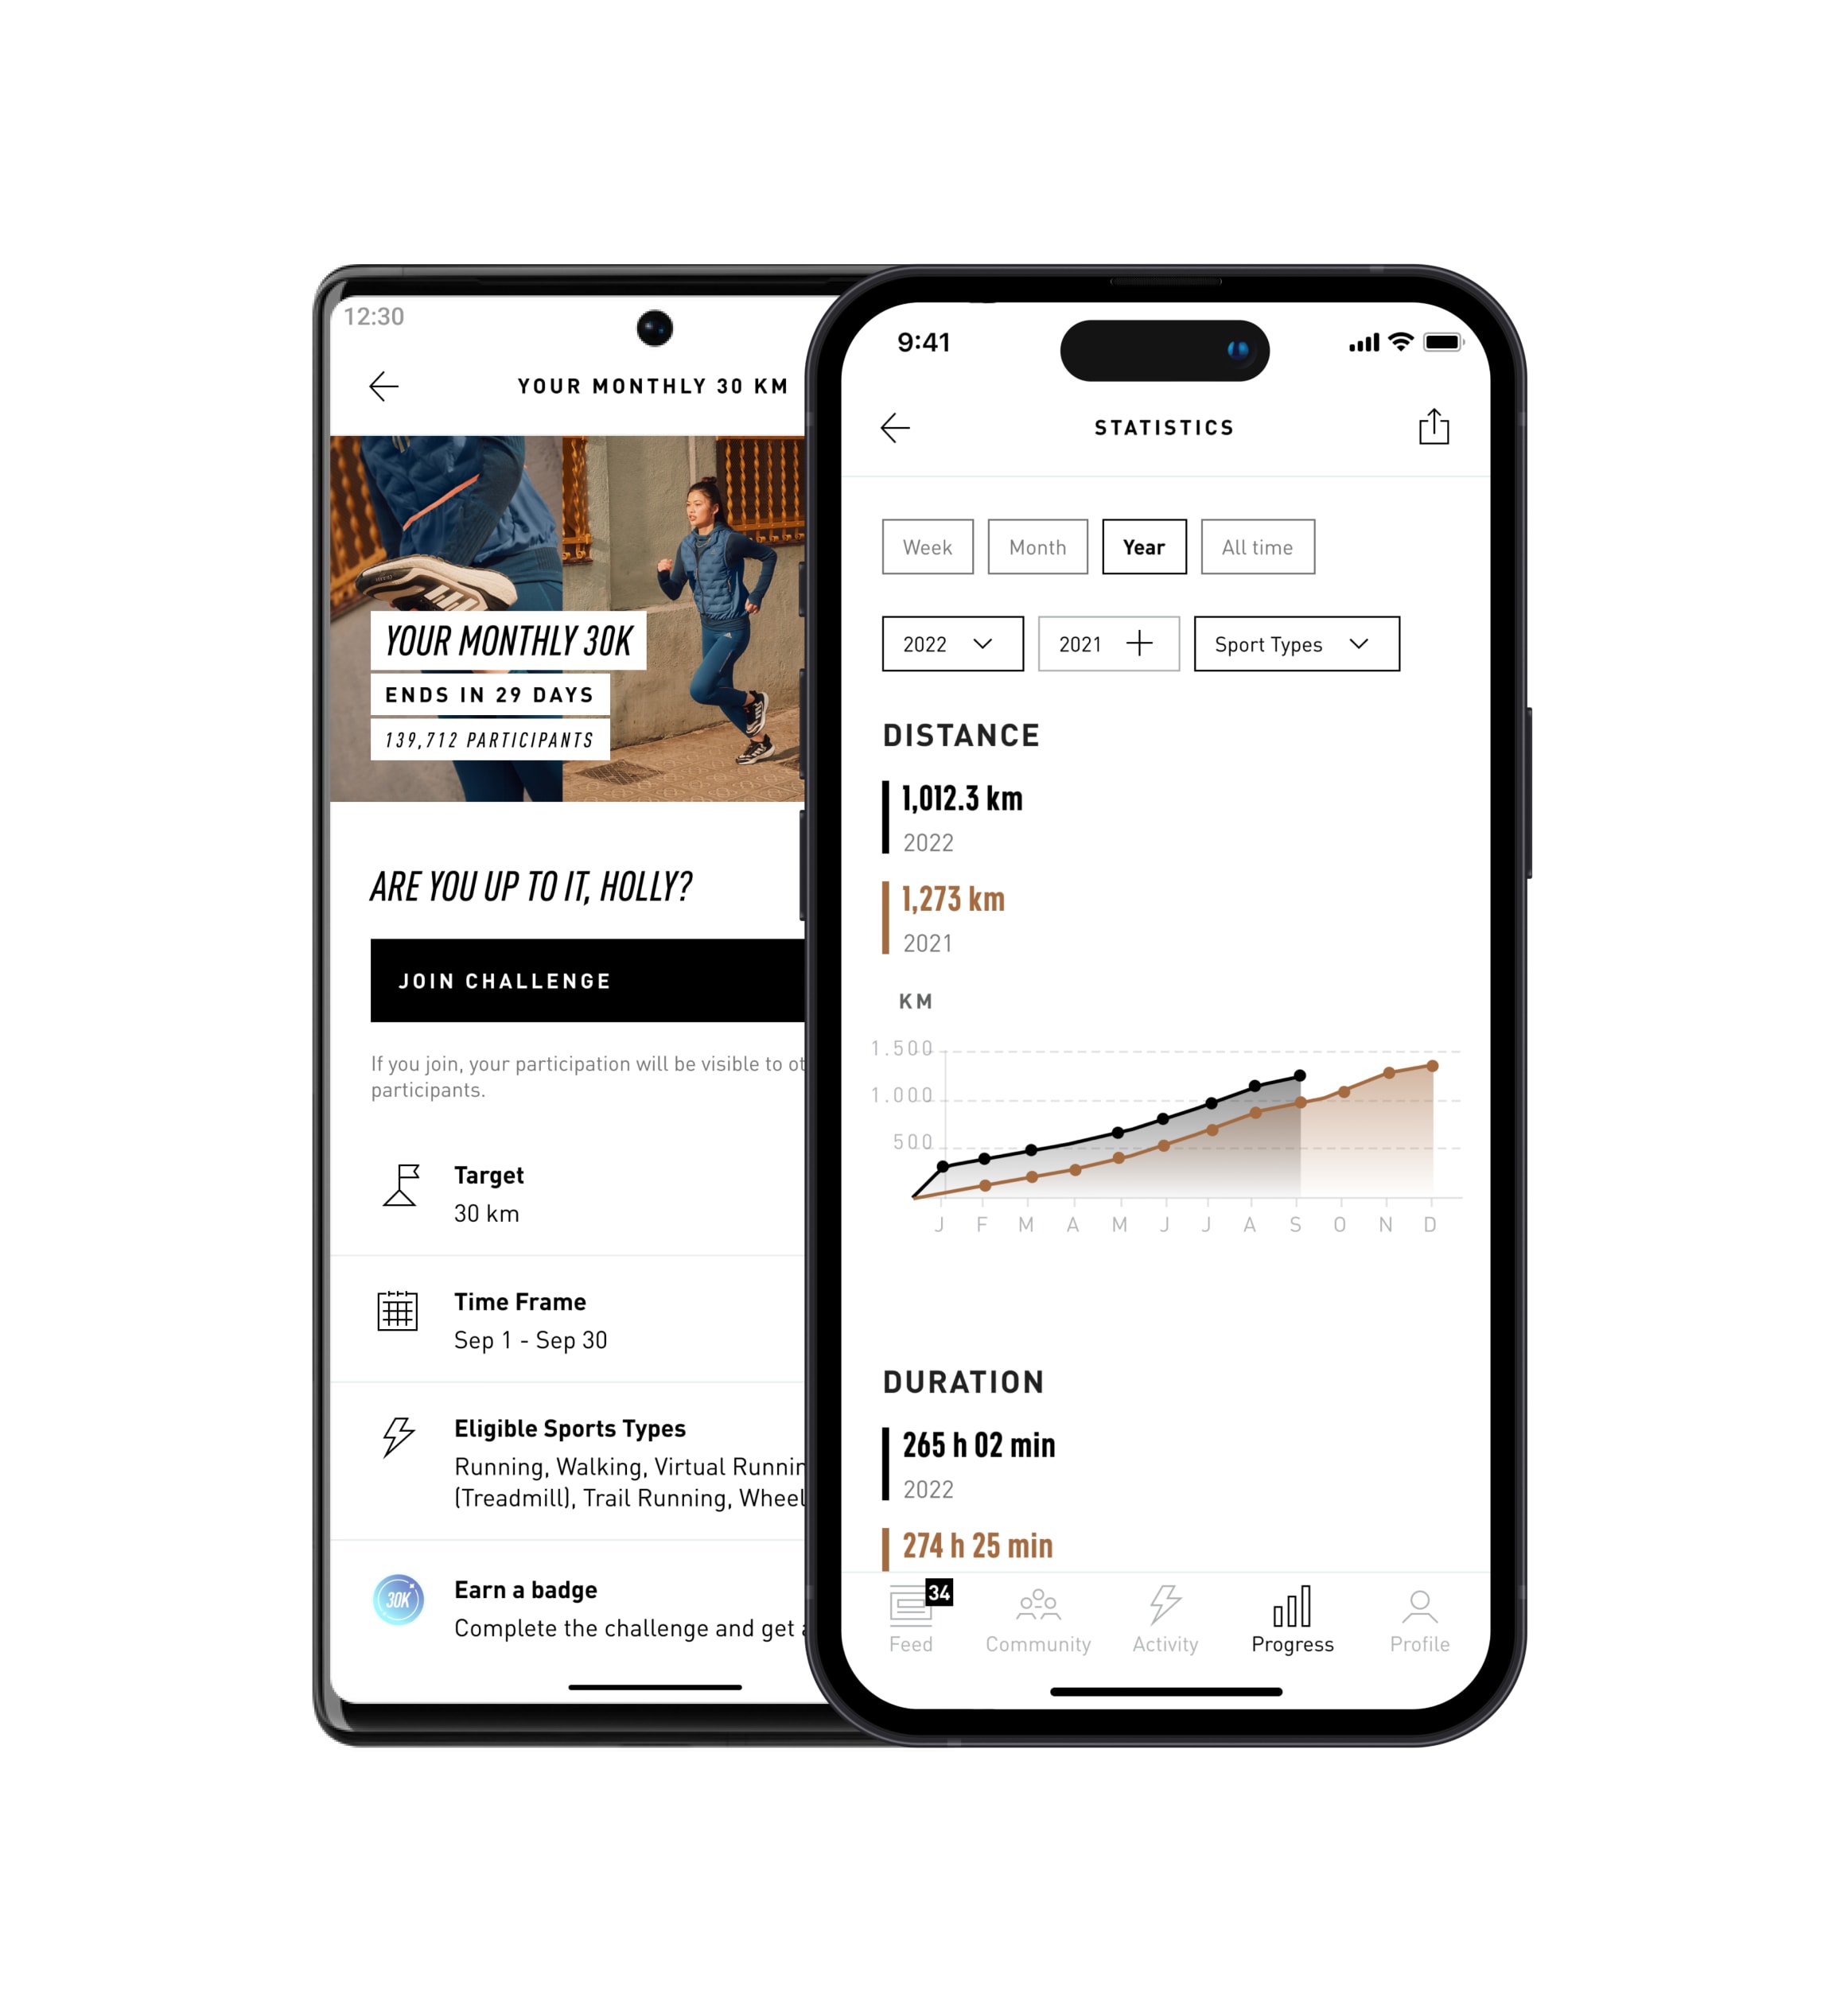
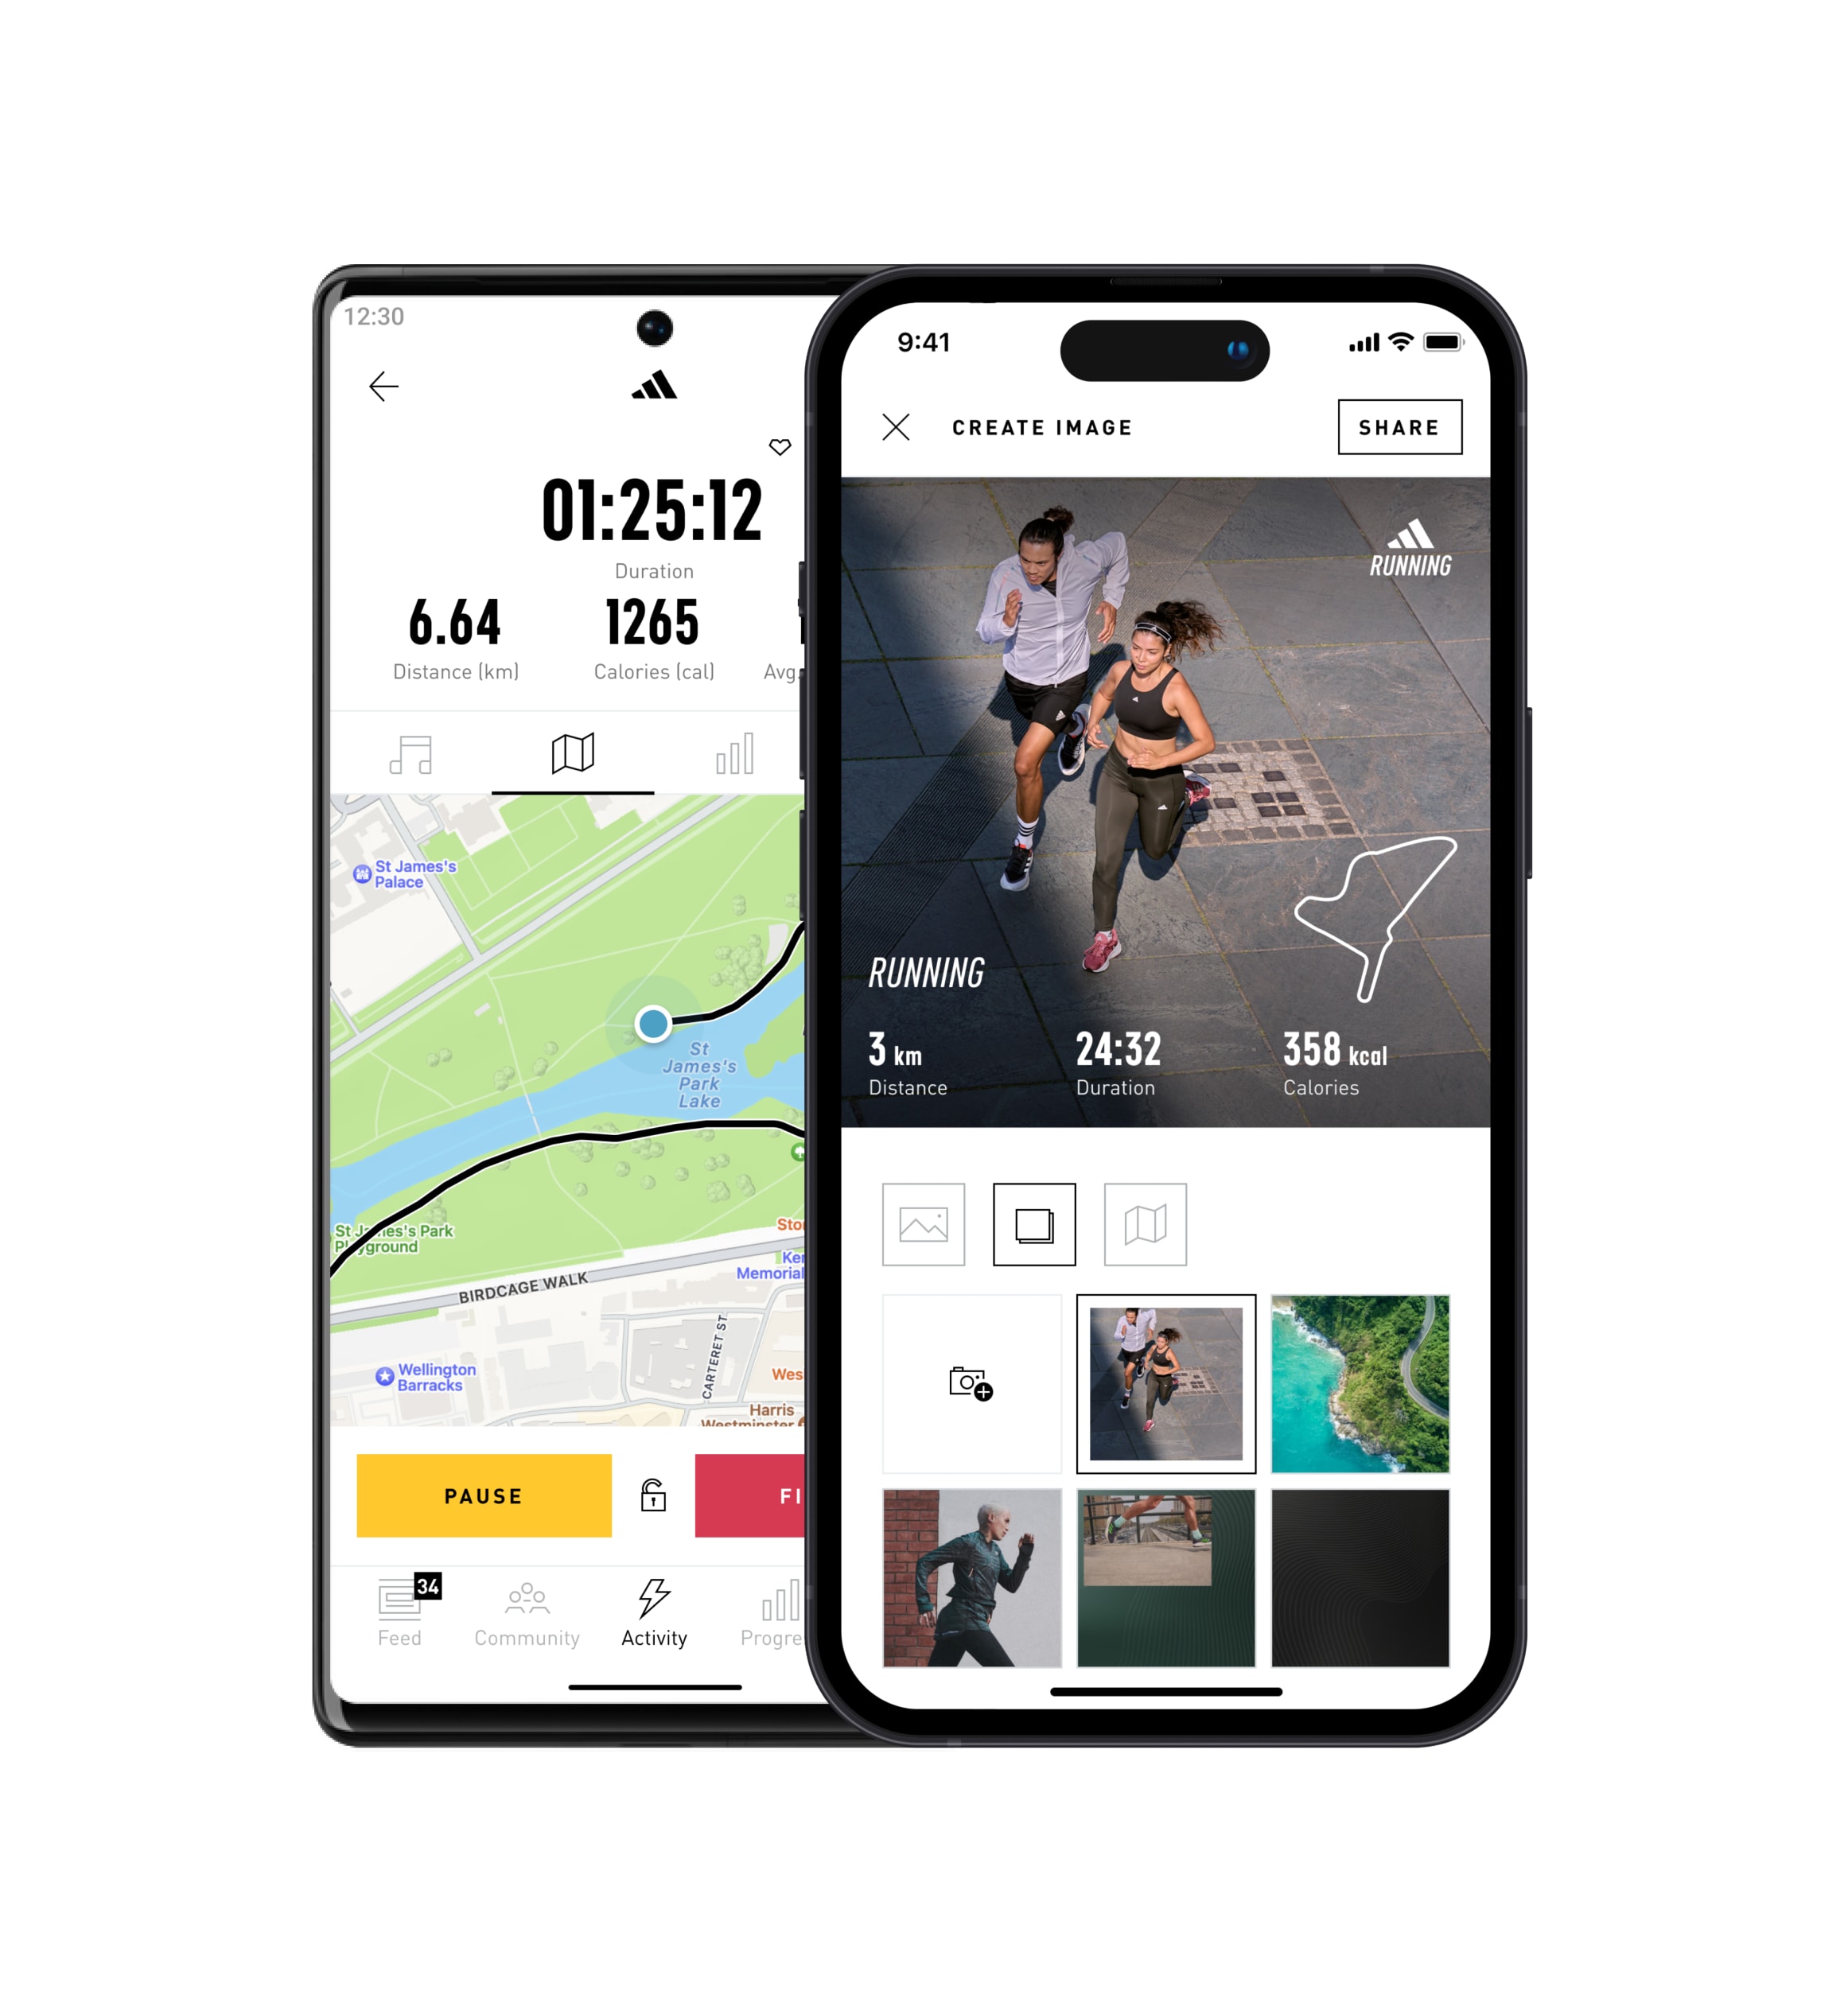
JOIN EVENTS OR RUN ALONE WITH ADIDAS RUNNING
Set goals, check in for events, earn rewards, and have more fun on your runs with these features:

Voice Coach
GPS Tracking
Leaderboard
Running Stats
Challenges
Training Plans

Download adidas Running